Installing a new showerhead can dramatically enhance your shower experience, and you can complete the task in under an hour. Follow these straightforward steps to successfully install your new showerhead without the need for professional help.
Gathering the necessary tools and materials
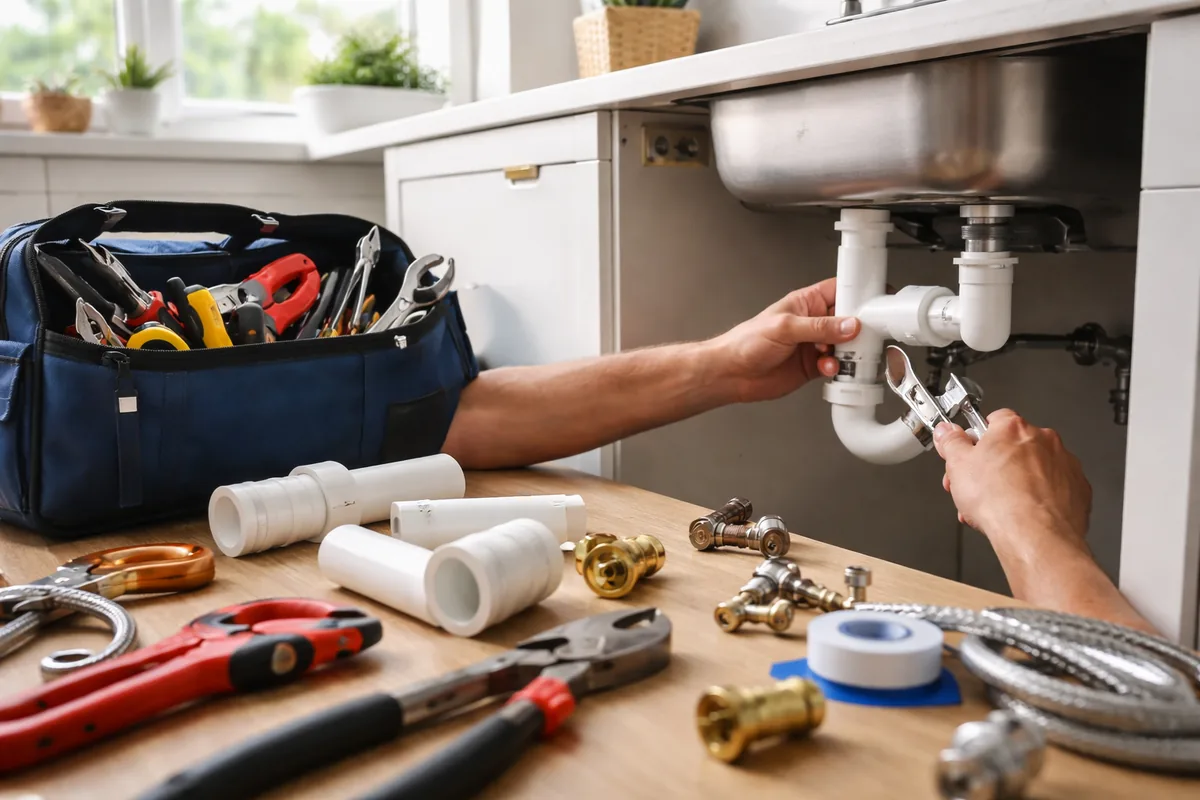
Before diving into the installation, ensure you have all the necessary tools and materials. You will need a durable adjustable wrench, Teflon tape, a clean cloth, and a new showerhead. Depending on the type of showerhead you choose, it might come with a mounting bracket. Having everything on hand will streamline the installation process.
Shutting off the water supply
To start the installation process safely, locate the water shut-off valve, usually located near your water heater or under the bathroom sink. Turn the valve clockwise to shut off the water supply. This step prevents any unexpected water spray during the installation. After shutting off the valve, test the existing shower to confirm the water flow is completely stopped.
Removing the old showerhead
With your tools ready, it’s time to remove the old showerhead. Use the adjustable wrench to loosen the nut that connects the showerhead to the arm. Turn the nut counterclockwise, using the cloth to protect the finish of the fixtures from scratches. Once it’s loosened, you can easily unscrew it by hand. If you encounter resistance, apply a little more force with the wrench, being careful not to damage the plumbing. After removing the old showerhead, clean the threaded area on the shower arm to ensure a good seal, removing any old plumber's tape or debris.
Preparing for the new showerhead installation
Once the old showerhead is removed and the area is clean, it’s time to prepare for the new installation. Wrap a layer of Teflon tape around the threads of the shower arm. This tape is vital in ensuring a tight seal and preventing leaks. Make sure to wrap the tape in a clockwise direction to avoid unwinding during installation.
Installing the new showerhead
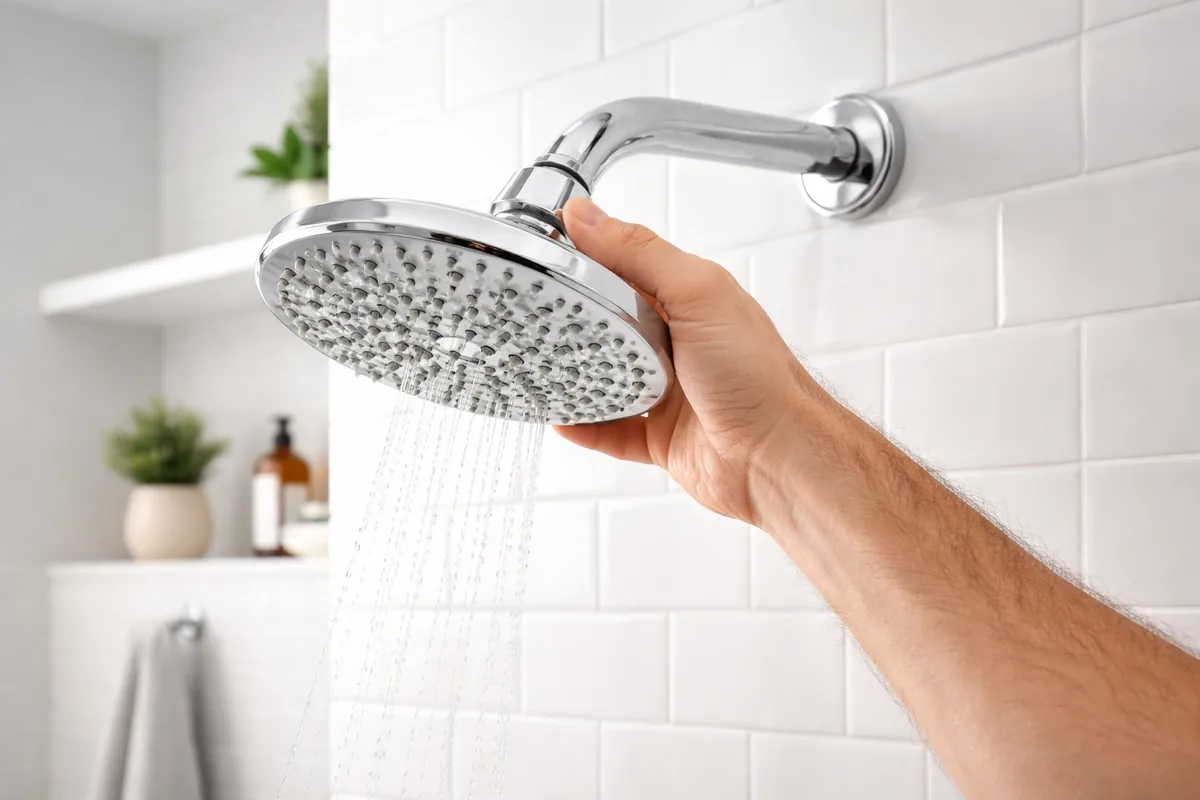
Now that the shower arm is prepped, it’s time to install your new showerhead. Align the showerhead with the shower arm threads and screw it in by hand, turning it clockwise. Once it’s hand-tight, use the adjustable wrench to secure it further—be mindful not to over-tighten as this might cause damage. Ensure the new showerhead is positioned as desired before securing the connection fully.
Testing for leaks
After installation, turn the water supply back on by rotating the shut-off valve counterclockwise. Gradually check for leaks by running the shower for a few minutes. Observe the connection point where the showerhead meets the arm carefully. If you notice any drips, turn off the supply and tighten the connection slightly. Repeat testing until there are no more leaks.
Optional adjustments and enhancements
Depending on the type of showerhead you installed, there may be additional adjustments you can make for a better experience. If your new model has adjustable spray settings, take a moment to test each option. Furthermore, consider adding a shower caddy or other accessories to enhance your shower space. These enhancements optimize your experience without requiring extensive plumbing know-how.
Benefits of upgrading your showerhead
Upgrading your showerhead can significantly impact your showering experience. Newer showerhead models often offer increased water efficiency, which can help lower your water bill while still providing a powerful spray. Additionally, modern designs may come with features such as adjustable spray settings, which allow for a personalized shower experience. A well-chosen showerhead can also improve water pressure, making your showers more enjoyable.
| Showerhead type | Features | Average cost |
|---|---|---|
| Standard | Basic function, varied spray patterns | $15 - $50 |
| Rainfall | Larger area, mimics rain | $30 - $100 |
| Handheld | Versatile, easy to maneuver | $20 - $70 |
| Low-flow | Water-saving, eco-friendly | $25 - $80 |
Maintenance tips for your new showerhead
To ensure your new showerhead remains functional and attracts less build-up, regular maintenance is essential. One effective method is to periodically detach the showerhead and soak it in a mixture of equal parts water and vinegar. This solution breaks down mineral deposits, allowing for optimal water flow. After soaking, gently scrub the showerhead with a soft brush, rinse it thoroughly, and reattach it. Regular checks and cleanings can extend the lifespan of your showerhead, keeping your bathing experience enjoyable.
FAQ
How do I choose the right showerhead for my bathroom?
Consider factors such as water pressure, style preferences, and available features when selecting a showerhead. Research different models to find one that best suits your needs.
Can I install a showerhead without a plumber?
Yes, installing a showerhead is a simple DIY task that can usually be completed in under an hour with basic tools.
What should I do if my new showerhead leaks?
If you notice leakage after installation, double-check your connections, ensuring they are tightened and the Teflon tape is applied correctly. If leaks persist, you may need to reseal the threads.
Are expensive showerheads worth it?
Higher-priced showerheads may offer better durability, style, and features like multiple spray settings, making them a worthwhile investment in many cases.
How often should I replace my showerhead?
Typically, showerheads can last for several years. However, consider replacing them if they show signs of wear or mineral buildup that cannot be cleaned effectively.